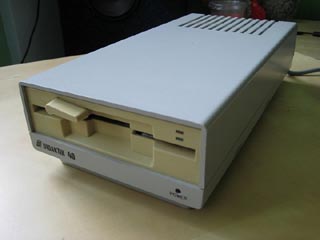
MDOS is a filing system developed in the early 1990's in Didaktik, Slovakia, for their 5.25" drives, sold as optional peripherals for their home computers (most notably for models "M" and "Kompakt"). This tour will give you a brief, yet full, description of MDOS' filing system as it is implemented in this application.

MDOS comes in two major versions, both of which are supported by this application:
Recall that both of the versions are supported by this application, although Version 1.0 only as well as the PC can catch the first sector.
Determining the version of MDOS
The particular version of MDOS is determined automatically upon disk or image insertion by observing the sector numbering under Head 1. The result is displayed in lower right corner of the File Manager.
Let's try it out! Download and open this image of a floppy as it was formatted under MDOS 2.0. Once opened, the File Manager indicates the recognized version, as shown below.
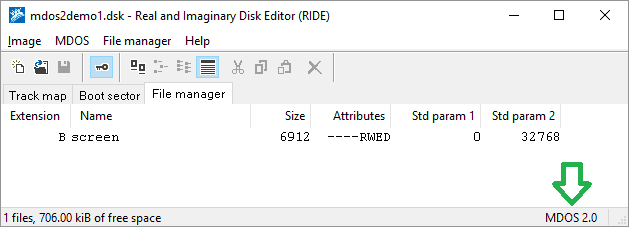
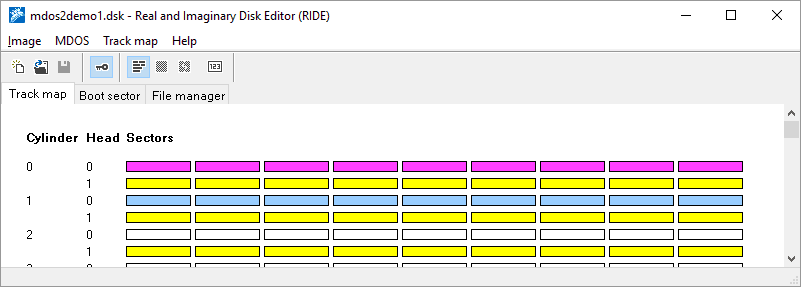
Try to display the single file that's stored on the image by clicking MDOS → Show as Screen$ (Ctrl+4) – it's a screenshot from my favorite game. You can close the Screen$ preview now. Switch to the Track Map tab and ponder the statuses of sectors on the disk – all are either system, occupied, or empty.
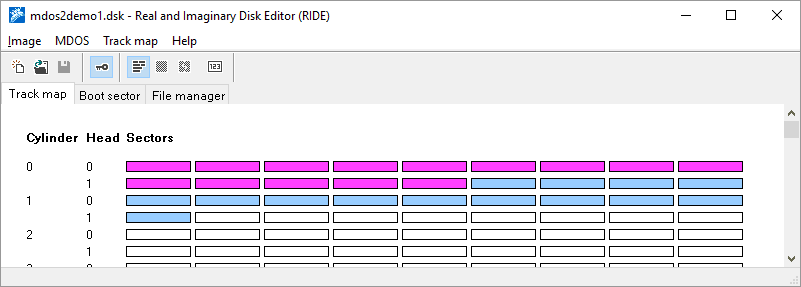
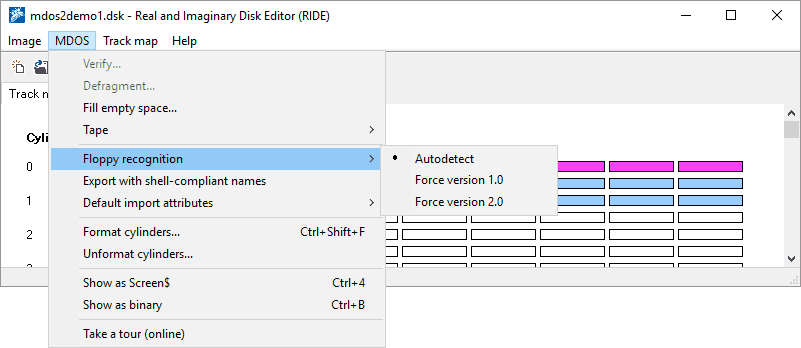
Let's try to convince RIDE that this image (or disk inserted in physical floppy drive) is actually an MDOS 1.0 image (or disk). You can do so by navigating to the MDOS → Floppy recognition submenu where there's currently ticked the Autodetect option, meaning that the version is determined automatically upon disk or image insertion by observing the sector numbering under Head 1. Change that to Force version 1.0 option and observe how the Track Map updates.
Now, sectors under Head 1 are reported as unknown – this is because of the different numbering of sides between versions (if you switch back to the File Manager and attempt to display the picture again, you will face an error message saying that a sector wasn't found – that's true as some of the image's sectors are stored under Head 1).
Lesson learned: MDOS version is determined automatically, or you can force the version manually.
You can close this image now as we won't need it anymore, Image → Close (or Ctrl+F4).
Let us now create a new real MDOS 1.0 floppy (yes, this is not a typo). For this, you will need an internal floppy drive and an empty 2DD floppy. If you don't have either of them, you are welcome to at least follow along.
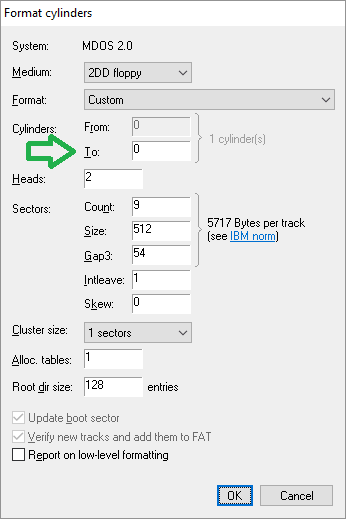
RIDE by default uses Version 2.0 during formatting and there's no way how to convince it otherwise. However, you can always re-format an open disk. Thus, the trick is to first format the floppy to MDOS 2.0, then force Version 1 in the MDOS → Floppy recognition submenu for the just formatted disk, and re-format the disk to MDOS 1.0. To spare time, you can format to MDOS 2.0 just a single double-sided cylinder with nine sectors per track, as this is a legal MDOS capacity, as shown here:
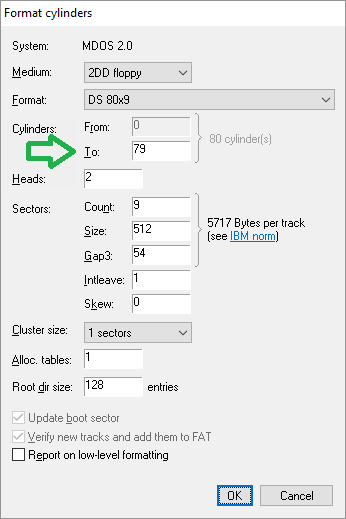
The second formatting to MDOS 1.0 is then done through the MDOS → Format cylinders command (Ctrl+Shift+F). An identical dialog as for the first formatting is shown where you can configure the final format and implied disk capacity.
A note aside for an interested reader. Despite the critical differences in formatting routines of MDOS 1.0 and MDOS 2.0, the floppies were freely interchangeable on real machines! You could comfortably insert an MDOS 2.0 floppy into an MDOS 1.0 machine and vice versa! Surprisingly, the forwards compatibility wasn't a question – it was the backwards compatibility that was quite challenging for the designers at Didaktik (MDOS 1.0 floppy in an MDOS 2.0 machine).
Of course you can use this approach also for creating MDOS 1.0 images. But in reality, you will never need to do so as the native image for Didaktik floppies is the unstructured (or "raw") file with *.D40 or *.D80 extensions. The *.D40 extension is usually used to indicate that the image contains 40 formatted cylinders (or less), while the *.D80 extension is a universal reference to any Didaktik floppy image.
Let us now do some fun with files stored in an image or on a real floppy. Create a new *.D80 image using the Image → New command (Ctrl+N), or simply download and open an empty image (in which case make sure that the image is not write-protected, i.e. Image → Write protected is unticked). Download also this file – it's a screenshot from another of my favourite games. Unpack it to a folder on your local hard disk.
Now, grab the unpacked Screen.B file and drop it on the File Manager. The file will be imported to the disk. You can see it's correctly imported using the MDOS → Show as Screen$ command (Ctrl+4).
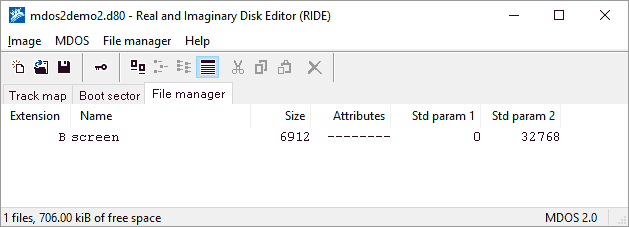
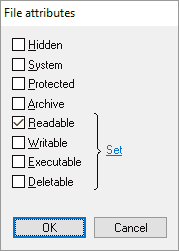
However, the file won't be readable on a real hardware as the Readable attribute is not set for it. So let's double click on its attributes that currently comprises of eight dashes – an ellipsis button appears. Double-click on the ellipsis button to display the File attributes dialog. In it, tick the Readable attribute and then click on OK.
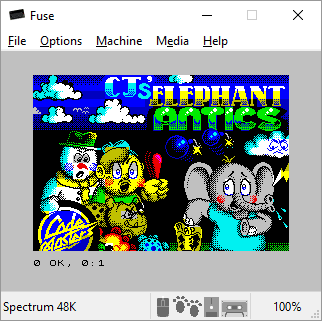
Save the current state of the image using Image → Save (Ctrl+S). You can try the result on a real hardware, or in an emulator as shown here:
Let us now import some file with BASIC program for ZX Spectrum. Download this file and unpack its content to your local hard disk. But before importing the file right away, choose MDOS → Default import attributes → (None) to display the File attributes we saw recently. In it, click on the Set hyperlink next to the curly bracket to set all four commonly used attributes, and then click on OK.
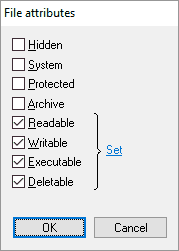
Now grab the unpacked Basic.P file, drag it over the File Manager and drop it there. The file will be imported with attributes automatically set to those we just selected in the File attributes dialog.
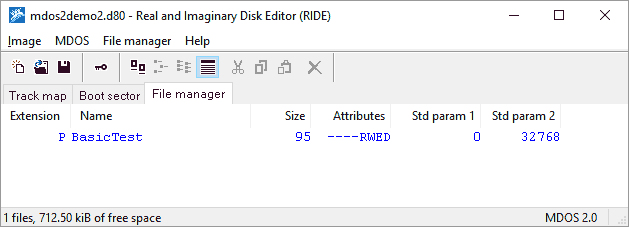
Setting the default attributes of files is a handy means how to import files that have no "import information" (more on that in a moment), i.e. files like the two we saw so far.
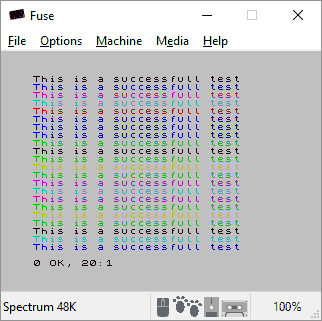
To run a BASIC program on a real hardware (or in an emulator), however, we will need more than just to set the attributes. Double-click on the BASIC file's first standard attribute and change it from zero to five. Double-click on the second standard attribute and change it from 32768 to 76.
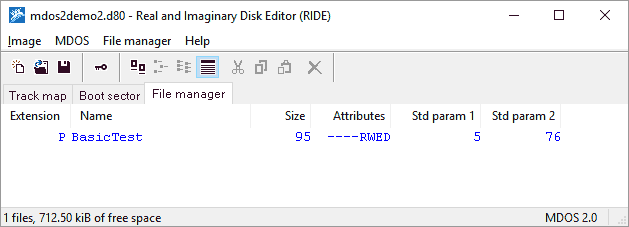
Save the current state of the image using Image → Save (Ctrl+S). You can try the result on a real hardware, or in an emulator as shown here:
Can those two standard parameters be set to some defaults as in the file attributes case? No, because they will definitely differ from file to file. But there's a better way – file import information! Import information is a bunch of extra data about a file that are consumed by RIDE at the moment of importing the file. Import information contain virtually the whole line of data shown in the File Manager, packed in a wild looking string attached to file's regular name.
To get the first crack on the import information, download this file, containing the popular Pssst game by Ultimate. Once unpacked, the file names will look ugly and like corrupted:
PSSST.P ZXP1790001L179TfDespite their look, grab all of them, drag them over the File Manager and drop them there. They will be imported with all parameters correctly set!
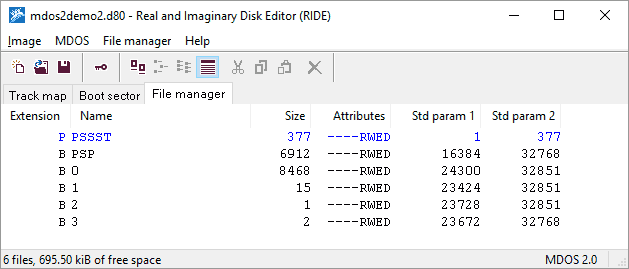
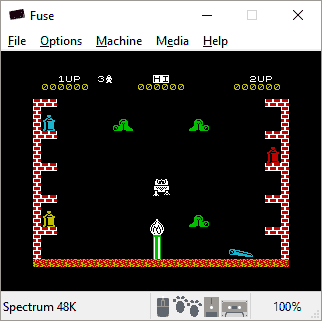
You can check the consistency by saving the image, using Image → Save (Ctrl+S), and trying the result on a real hardware, or in an emulator as shown here:
Here are few tips about import information to remember:
Let us now try the oposite operation – file export. Download and open this image that contains a popular converter of tape files to disk files, named Tape/Disk (in those early 1990's days, it was a very essential tool for everyone who wanted to convert level-loading games from a tape to a disk – for instance, to speed-up the loading time, as tape versions of games were cheaper, although not much but even that counted).

Before exporting anything, make sure that the MDOS → Export with shell-compliant names option is NOT ticked (it is ticked by default). Unticking it means that import information we saw earlier will be exported for each file, too. Contrarily, if ticked (by default), import information will not be exported, and exported file names may be changed by RIDE so that they comply with Windows native file system naming rules.
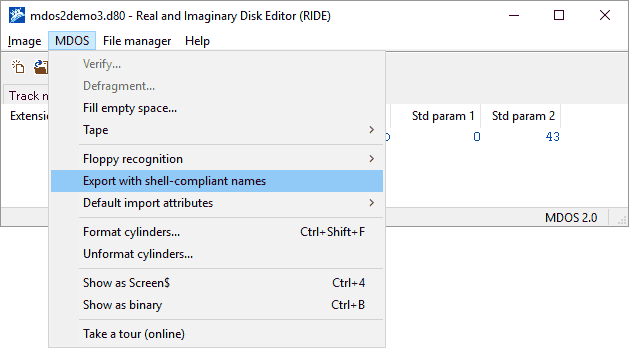
Having the option currently unticked, switch to the File Manager and click on File Manager → Selection → All (Ctrl+Shift+A) to select all files in the current directory. Grab the selection and drag the files over to the Desktop (or anywhere else you like) and drop them there. The files will be given familiarly weird names.
Tape%2fDisk.P ZXP2b0000L1b45TfDo this once again but this time with the MDOS → Export with shell-compliant names option ticked. The files will be exported with much readable names which may come handy if you are using ESXDOS with files stored on an SSD card.
TapeDisk.PIn most of the cases, rather than archiving individual files outside their containing image (with or without the import information attached) you may want to archive the whole image (possibly for further generations of gamers), ideally packed as a ZIP file. RIDE cannot pack the image for you but it can help you make the final ZIP file as small as possible. Given that there are not known any games (or utilities) with "secret" files, not officially included in both the directory and the FAT, you are virtually always safe to carry out the following steps.
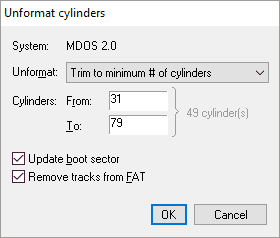
Modern emulators usually can handle images with unexpected number of cylinders (for counter-example, the RealSpectrum emulator cannot, and expects MDOS disks to always have 80 cylinders, otherwise it refuses them). Hence, you can safely trim empty cylinders from the end of the disk using MDOS → Unformat cylinders.
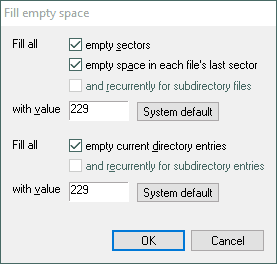
Cylinders that have remained in the image may further be cleaned from unused residue data, thus enabling better ZIP compression rate, using MDOS → Fill empty space. You usually may leave the defaults and click on OK straight ahead.
This concludes our tour, hope you enjoyed it and found it useful :-)