RIDE soon to migrate to another web domain, announced in the new version of the application, while this web domain silently ceases to function! Please update your bookmarks/links once the new version of RIDE is out!
Applies to: RIDE 1.7.3 and later
Flippy disks are two-sided floppies intended for single-sided drives – to work with the other side (reading/writing/formatting), one simply has to turn the disk over and plug it in "upside down" – hence the term "flippy." The following is an illustration of such a disk, and note two index holes on either side. Two index holes is the ideal state, however, there are flippy disks which have just one index hole, and which, of course, cause the most problems.

Problems reading flippy disks on double-sided 5.25" drives:
If you want to modify your double-sided drive to read flippy disks directly:
To be honest (and being quite clumsy), I have never in the slightest intended to modify any drive – so from my point of view, please take references to the tutorials only as a theoretical possibility.If you now have a double-sided drive modified to read flippy disks directly:
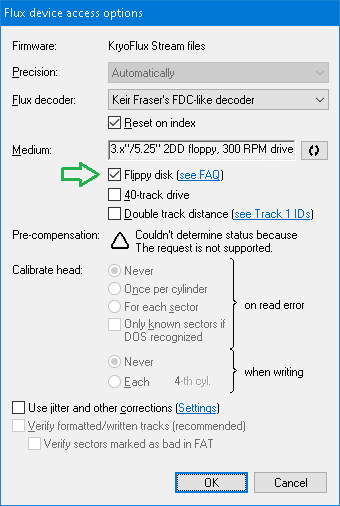
Once you have modified the drive, simply tick the Flippy disk check-box (ALT+I) when accessing the drive, e.g. as below in the Access options dialog for the KryoFlux controller. By ticking the ckeck-box, the signal obtained from Head 1 will be reversed before decoding.

If you have a regular double-sided drive and a flippy disk with two index holes:
What I do is that I split the creation of a flippy disk into two separate dumpings, and then merge both parts into final image, as in the following.
copy SideB\track??.0.raw track??.1.raw
If you have a regular double-sided drive and a flippy disk with a single index hole:
There is currently no way how to solve such situation using RIDE. A workaround is to use a third-party software that can generate an artificial index pulse, provided the underlying double-sided drive can actually work without observing an index pulse. One such third-party software is the Greaseweazle Host Tools. With having a complete magnetic flux image of both sides created using one such third-party tool, you can return to RIDE to further work with, e.g. convert it to a more suitable image for emulation (see how).